I'm restoring a 1955 Ford F-100 Pickup truck.
I will post pictures, videos and articles about my restoration as I go along.
This project was started in the Summer of 2017.
I wanted power steering, and the only way to do that was to move my 3 on the free to the floor.
This took me about 2 months of ordering the wrong parts, designing my own mounting brackets and then looking for shifter linkage on ebay that I could bend a little and fit into my layout.
I have a 1955 Ford F-100 with a 1969 Mustang 302 V8 and a 1966 Top loader 3-speed manual transmission also from a mustang.
I started with a kit for a Mustang, but the rods were too long and I couldn't change the shifter stick if it was too close to the seat, so don't do that. Just buy a Master Shift for a 3 speed and buy the parts you need to build your own custom setup. If I had used the Mustang kit my shifter would been under the seat. I had to move it up and forward about 4" with my custom bracket.
Here are my pictures to get an idea of how I did it. I had the guys at work cut it out of 1/2" aluminum plate for me on a waterjet after I designed it in AutoDesk Fusion 360. I will get around to posting the cad model soon if anyone wants to get one cut too. I reused the mounting plate that was made for this transmission as a spacer because I needed the shifter to be about 1/2" more to the left.
I used some skinny $3 rods from Home Depot to mockup what I needed for shifter linkage and then searched ebay for linkage that was close. They were easy to bend when I put them in a vice and slowly bent them by placing a a 4 foot iron pipe over the linkage and used that as bending leverage.
Mid Fifty has some great information about converting your 1955 Ford F-100 over to power steering without changing our the front axle. CPP is the company that makes the 400 series power steering gear box that works with the 1955-59 Chevy trucks & 1953-60 Ford Trucks. Other options include the Toyota gear box retrofit, but now that CPP makes a brand new box, that is the way most people are going.
I found a kit on ebay from Bro-Speed that was much like the Mid Fifty kit, but for about the same price included the Saginaw pump, so I went that route. At the time of writing, the kit was on sale for $557.99)
The Rag Joint with the long shaft is not for an aftermarket column like the ididit, so I exchanged that for a Rag Joint like they sell on midfifty.com
Here is a video going over my removal of the column, pitman arm, and gear box
I did have a few problems and here is my run down of solutions
The triangle flange is hard to get onto the pump. I had to tap around the gear as I tightened the bolts that connect it to the gear box.
The kit from Bro-Speed came with no instructions, so I downloaded the ones from CPP that are on the Mid Fifty website.
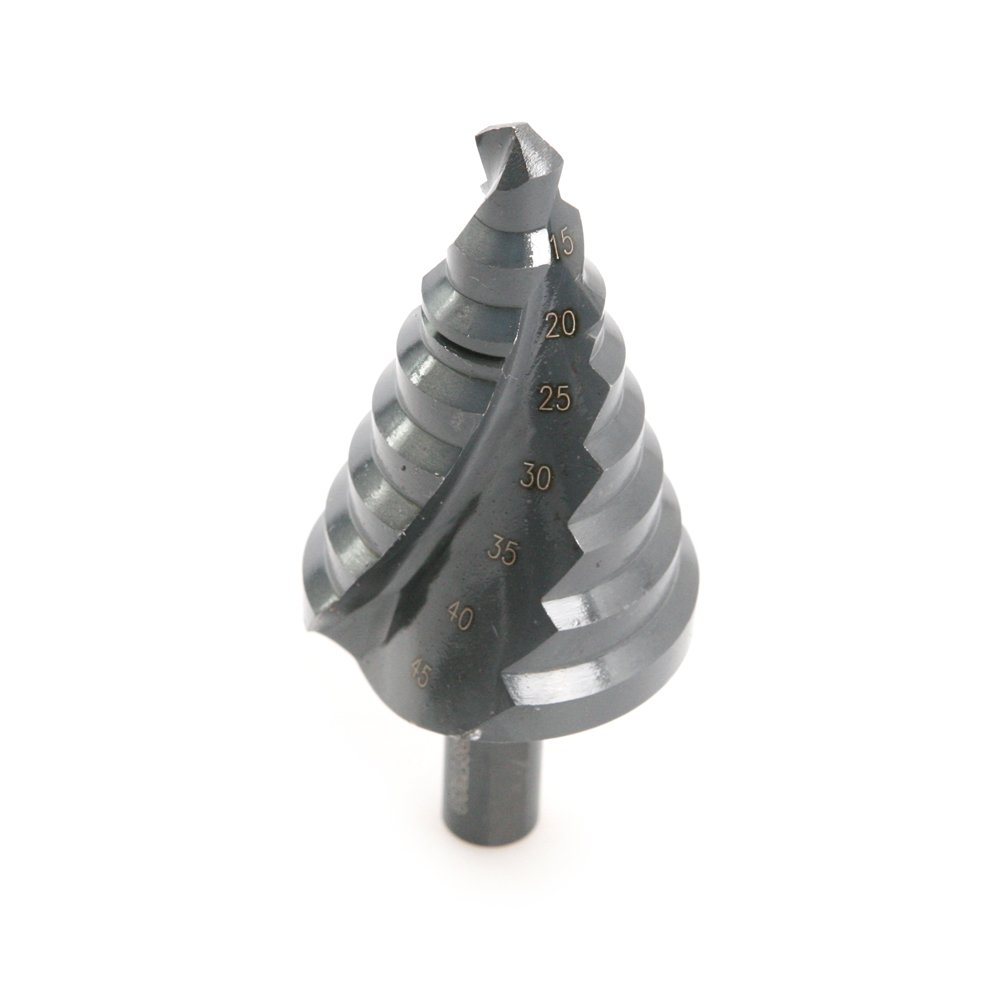
You will need a tapered drill bit to enlarge the hole for the gear to 1.5" and those are $157 on Amazon, or you can do like me and get a cheap metric reamer (aka Step Drill bit) that does 40mm for $15-30. (You should get some drill lube too)
The Rag Joint didn't fit the gears. (It had a flat spot on it) and I can't use the shaft with my aftermarket GM style steering wheel, so I did an exchange. This is what I sent Bro-Speed (ebay) and they sent out a replacement.
The spacers were too long. They go between the grear box flange and the frame. When installed, there was no room to install the nuts and the gear was not centered on the firewall hole, so I removed the spacers and used 2 thick fender washers to get a 1/4" gap and that worked great. I used a screw driver to keep a gap between the bottom of the hole and where the gear was while I tightened the bolts.
The saginaw pump had bolts on the back that were to short for the rear mounting bracket I found on ebay, so I had to use a front/back mount combo that was about $87 for my 1969 Ford Mustang 302 engine. The lower bolt shown going into the block is 5.5" long. I found that it was 1/4 too long because of gunk build up on the end of the bolt hole, so I had to cut off the last 1/4" of the 5.5" bolt. This was suggested in the directions that came with the bracket. (Could they not find 5-1/4" bolts?)
I had to buy 5 belts before I got the right one, and that was a Duralast 15430 from AutoZone. (43")
It was a tight fit, but the 15440 would have been too close to the lower radiator hose.
I will post more later as I finish this project, I'm waiting for the rag joint.
I will also be making a post about converting to a floor shifter. You must go with a floor shifter if you have a 3 on the tree like me.